
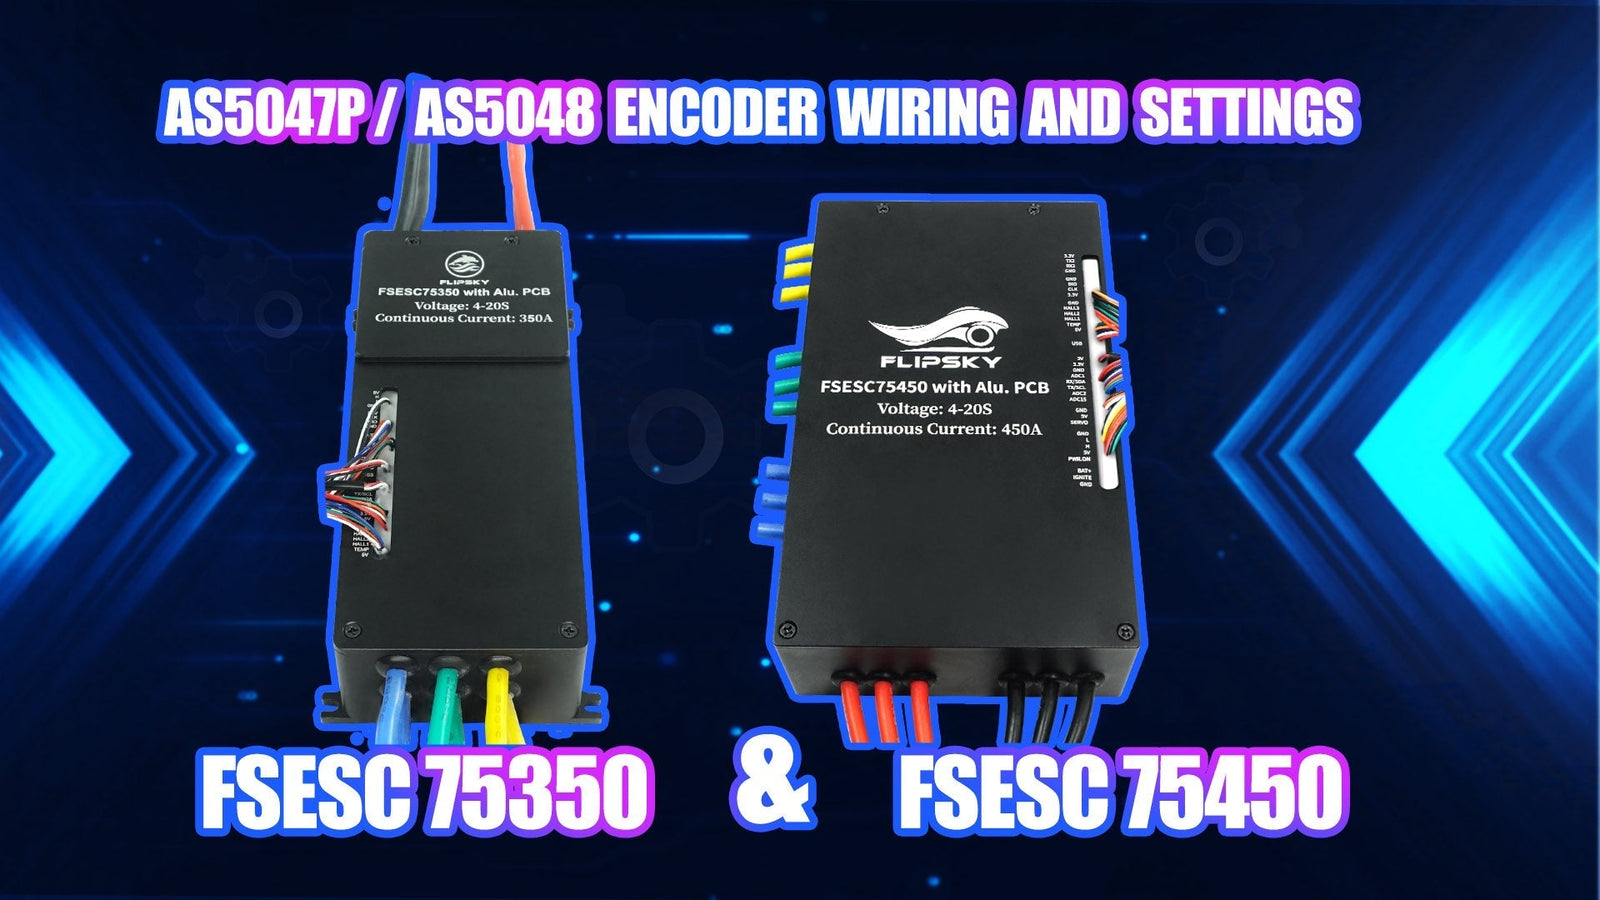
Flipsky FSESC 75450 and 75350 AS5047P/ AS5048 Encoder Wiring and Settings
Wiring diagram:

Remove some capacitors and resistors as below:
1.Remove the hall sensor 10nF filter capacitor on H1(A),H2(B),H3(C)
2.Replace the 2.2KΩ resistors to be 0Ω resistors on the H1 (A), H2 (B),and H3 (C)


Wiring:
- Connect the FSESC75450(75350) with the motor
- Connect the FSESC75450(75350) with PC via USB cable
- Connect the FSESC75450(75350) with the battery
- Connect the FSESC75450(75350) with encoder AS5047P/ AS5048.
Matching pins as belows:
|
AS5047P / AS5048 Encoder (SPI Interface) |
|
|
3.3V |
3.3V |
|
GND |
GND |
|
H1(A) |
CS |
|
H2(B) |
MISO |
|
H3(C) |
SCK |
|
3.3V |
MOSI |
Notes: Please connect all parts well before power on.


Notes: Please connect all parts well before power on.
Settings:
Step 1: Click “AutoConnect” to connect the esc with vesc_tool.

Step 2: Click “Setup Motors FOC” to do motor FOC settings.

Step 3: Select an option according to the specifications of your motor--->“Next”.

Step 4: Write “Battery Type”, “Battery Cells Series”, and “Battery Capacity” per battery specification-->“Next”.

Step 5: Write correct motor and wheel pulley teeth q’ty and wheel diameter. If no pulleys, tick "Direct Drive"-->click "Run Detection (no CAN)" or "Run Detection"

Step 6: Check the motor detection data to see if normal.

Encoder Data Check
Step 1: Click Motor Settings -> General -> General to check the “Sensor Port Mode” and see if related Encoder and ABI Encoder Counts shows.

Step 2: Click Motor Settings -> FOC -> General to make sure the Sensor Mode “Encoder”.

Step 3: Click “APP Settings”--> “APP to Use” to "UART" for keyboard control.

Step 4:Click Data Analysis --> Realtime Data--> Rotor Position-->Encoder for check.

Step 5: Rotate the motor by hand to see if the encoder data normal or abnormal.

Thank you for watching, please follow our social media for more information:
YouTube:https://www.youtube.com/c/FlipskyTech/
Instagram:https://www.instagram.com/flipsky_tech/
Facebook: https://www.facebook.com/FlipskyTech


Leave a comment